 EN
EN


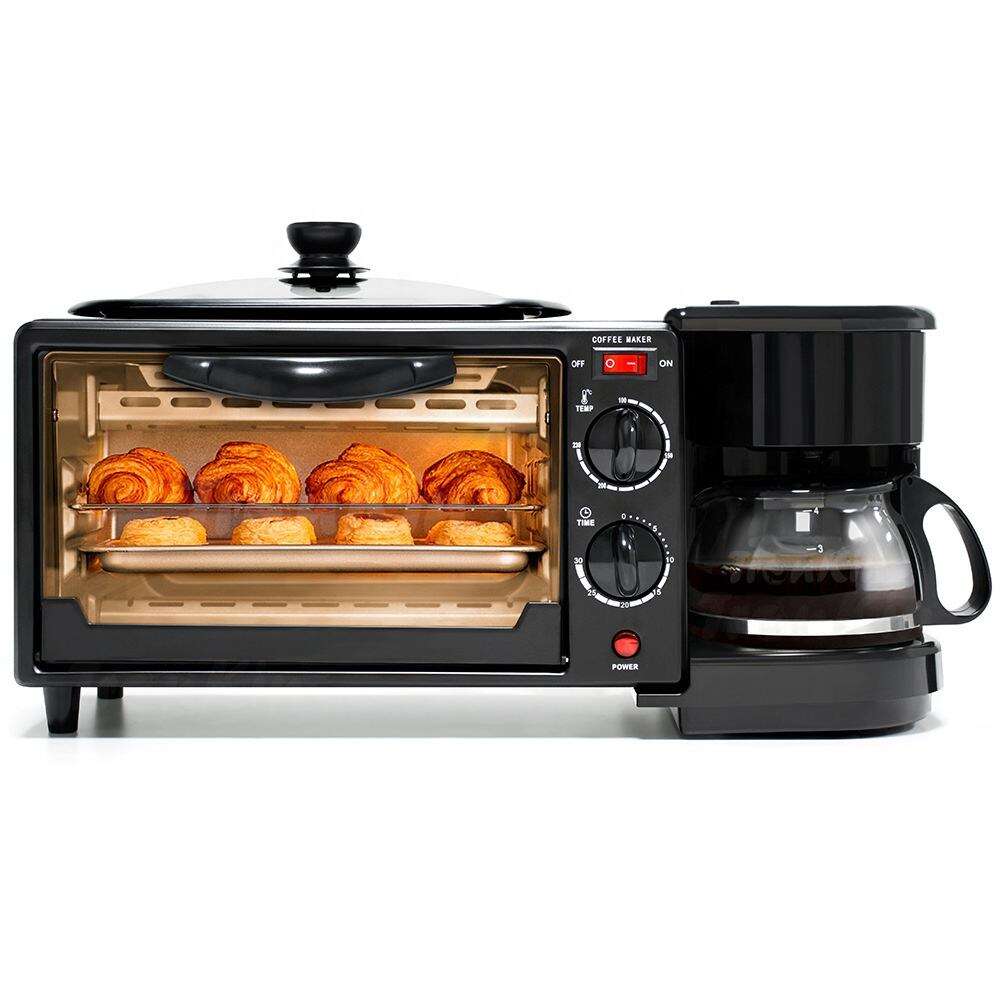
How to install and use an electric oven coffee maker like a pro for delicious results
Essential Pre-Installation Considerations
Electrical Requirements for Safe Operation
Understanding the electrical requirements of your electric oven coffee maker is crucial for ensuring safe operation. Modern appliances, such as the robot to clean windows or commercial food slicer, often have specific voltage and amperage specifications that must be met. It is essential to verify that your home’s electrical capacity can sustain these appliances to prevent overloading circuits or tripping breakers. If you are setting up in a commercial environment or if the appliance requires high power, installing a dedicated circuit might be advisable to accommodate the increased demand safely. This proactive approach not only supports efficient appliance operation but also ensures an overall safer environment within your premises.
Choosing the Right Counter Space
Selecting an appropriate counter space is vital to the successful operation of your electric oven coffee maker. Choose a stable surface free from immediate heat sources, allowing for good air circulation, essential for the longevity and safety of the appliance. Ensure the counter can bear the appliance's weight, including ancillary items you might need during its operation, like a food slicer or automatic vegetable chopper. Also, consider its proximity to power outlets and water sources to facilitate hassle-free use, which is particularly beneficial for devices that require regular maintenance or have supplementary attachments. Proper placement on the counter helps streamline tasks and enhances overall appliance efficiency.
Unboxing and Component Inspection
Unboxing your new electric oven coffee maker demands careful attention to detail to ensure all components are received and in pristine condition. Begin by meticulously unpacking the appliance, removing all packaging material to lay out its components clearly. Inspect essential parts such as the glass carafe, coffee filter basket, and baking trays, checking for any damages or imperfections that might affect performance. Consulting the manufacturer’s checklist helps verify that nothing is missing before proceeding with installation. This thorough initial examination is crucial as it lays the foundation for the appliance's operational functionality, ensuring you can quickly address any concerns with the supplier if necessary.
Step-by-Step Installation Process
Assembling the Coffee Brewer Module
To successfully assemble the coffee brewer module, start by carefully following the manufacturer's instructions. Accurate assembly is crucial for optimal function and includes ensuring all components like the water reservoir, coffee filter basket, and brewer head are correctly fitted. This will help in preventing potential issues such as leaks during operation. Additionally, ensure that the glass carafe is properly placed to avoid spillages, which are common if there's misalignment. Making sure everything is snugly fit will enhance the efficiency and longevity of your coffee brewer module.
Installing the Baking Tray and Racks
Installing the baking tray and racks correctly is essential for safe and even cooking. Begin by identifying the correct orientation for each piece as specified in the manual. This ensures that the trays and racks are secure and stable during any baking or frying processes. Therefore, securing the racks firmly is critical to maintaining stability, especially in high-heat settings. Lastly, double-check the alignment of each part to ensure even heat distribution, which is pivotal for consistent cooking and baking results.
Connecting to Power Sources
When connecting your appliance to power sources, begin by locating the power cable and ensure it's plugged into a suitable outlet. Ideally, this should be a dedicated circuit to minimize the risk of electrical faults or overheating. This precaution is especially necessary in settings with other high-power appliances. Once connected, test the appliance by turning it on to verify that all functions are operating correctly before its first official use. This ensures everything is in working order and prepared for safe, hassle-free operation.
Mastering Your 3-in-1 Electric Oven Coffee Maker
Getting the most out of your 3-in-1 Electric Oven Coffee Maker involves understanding its core functions and maximizing their utility. This guide will walk you through brewing coffee, baking and frying simultaneously, utilizing keep-warm functionality, and cleaning the non-stick surfaces effectively.
Brewing Coffee with the Glass Carafe System
Brewing coffee with the glass carafe system is central to enjoying a perfect cup every time. Start by using the specified coffee filter and maintaining the right coffee-to-water ratio to ensure optimal brew strength. This ratio can significantly affect the richness and flavor of the beverage, so it is crucial to get it right. Monitor brewing times to ensure maximum flavor extraction from the coffee grounds, as oversteeping or underbrewing can compromise taste. After brewing, understand how to use the glass carafe effectively for serving and storing coffee, ensuring it stays warm and aromatic for a longer duration.
Simultaneous Baking and Frying Techniques
Leveraging the 3-in-1 appliance for simultaneous baking and frying is key to efficiency. Learn how to utilize its features to bake and fry at the same time, fully capitalizing on its multifunctionality. Properly position trays and racks to ensure even cooking and avoid cross-contamination. This setup not only saves time but also ensures that each component of your meal is cooked to perfection. Additionally, experiment with varying temperatures and timings to refine your technique and achieve the desired texture and flavor in both baked and fried foods.
Utilizing the Keep-Warm Functionality
The keep-warm functionality is integral for maintaining the right serving temperature for both coffee and baked goods. After brewing coffee or finishing baking, learn to engage this function appropriately. Keep a close eye on temperature settings to prevent over-drying or losing aroma in coffee and baked goods. This feature is particularly useful during meal preparation when serving multiple courses, ensuring every item is served fresh and warm.
Cleaning the Non-Stick Surfaces
Regularly cleaning the non-stick surfaces of your electric oven coffee maker is crucial for its longevity and performance. Use recommended cleaning methods to avoid damaging the coating, as abrasive materials can lead to scratches that undermine non-stick effectiveness. Establish a routine cleaning schedule to maintain hygiene and performance, thereby extending the appliance's lifespan and ensuring your meals are always cooked in a clean environment. A well-maintained appliance not only performs better but also lasts longer, providing continuous value.
With these guides, you can master your 3-in-1 Electric Oven Coffee Maker, making it an indispensable tool in your kitchen for enjoying delicious coffee and meals effortlessly.
Maintenance and Safety Best Practices
Daily Cleaning Routine for Optimal Performance
Implementing a daily cleaning routine is crucial for maintaining your appliance's optimal performance. Begin by wiping down surfaces and emptying remnants from trays, which helps prevent buildup that can affect functionality. Use appropriate cleaning agents specifically designed for the appliance surfaces to avoid any long-term damage. Regular maintenance not only ensures high-performance operation but also prolongs the life of the appliance, keeping it efficient and safe for everyday use.
Descaling the Coffee Maker Component
Descaling is an essential part of maintaining the coffee maker component, as mineral buildup can affect the taste and performance. The frequency of descaling depends on the water hardness in your area. For effective cleaning, use approved descaling solutions or a simple vinegar solution. It's important to follow the manufacturer's guidelines during the descaling process to prevent potential damage to the appliance while ensuring the coffee brewing quality remains optimal.
When to Replace Heating Elements
To guarantee safety and efficiency, monitor the appliance's performance for any decline in heating efficiency, which might signal the need for replacing heating elements. Warning signs such as unusual noises or failure to heat properly are indicators of potential issues. In such cases, consult with a qualified technician to ensure the heating elements are replaced safely and correctly, preventing any risks associated with faulty appliance operation.